Published: June 2, 2026 | Last updated: June 2, 2026 | 8 min read
TL;DR
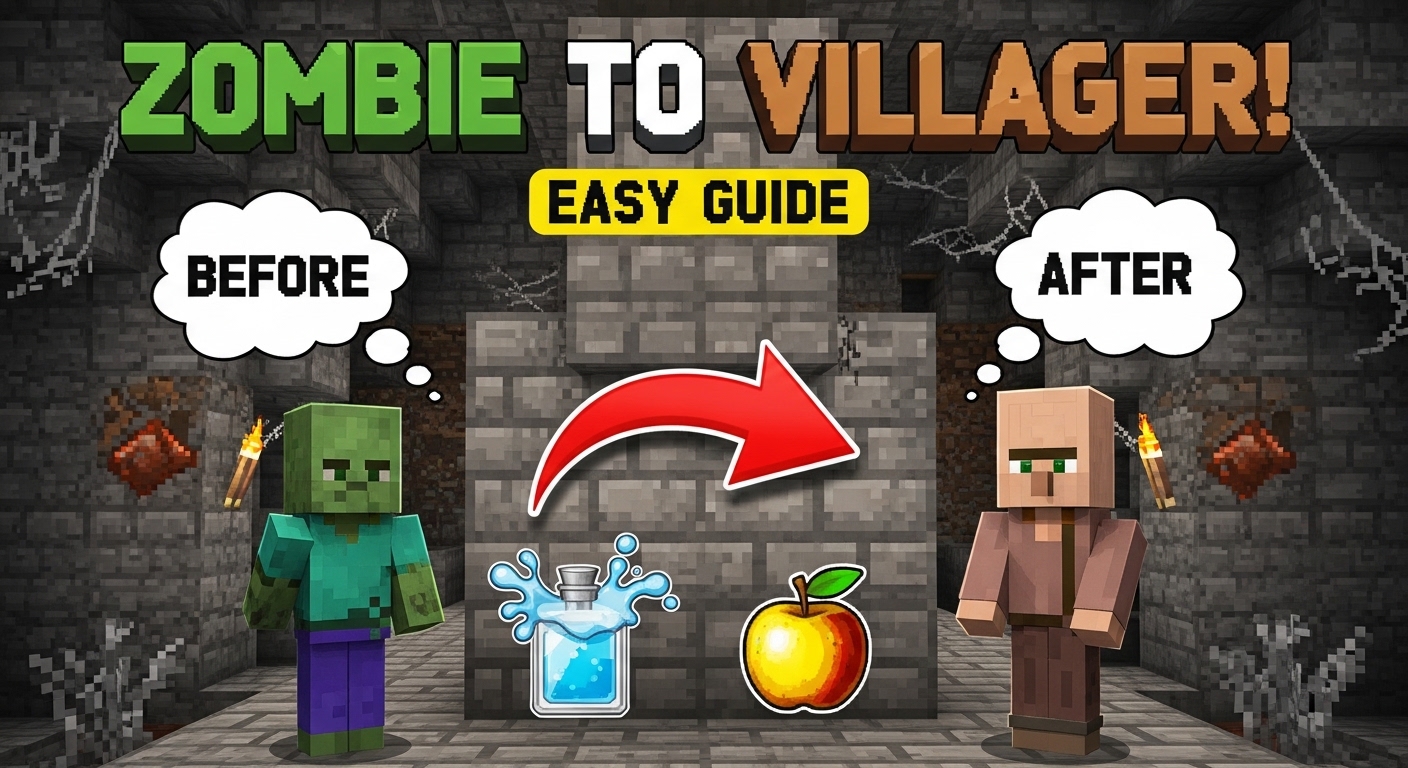
- You need two items to cure a zombie villager: a Splash Potion of Weakness and a Golden Apple
- Hit the zombie villager with the splash potion first, then feed it the golden apple
- The conversion takes 2–5 minutes, during which the villager shakes and makes noise
- Cured villagers give permanent trading discounts — sometimes dropping prices to a single emerald
- This is the most cost-efficient way to build a high-value trading hall in survival Minecraft
What Is a Zombie Villager in Minecraft?
A zombie villager is a hostile mob that results from a villager being killed by a zombie. It looks like a zombie but retains the clothing and profession overlay of the original villager. Zombie villagers make up roughly 5% of all zombie spawns in most biomes, and in zombie villages they are the dominant mob (Minecraft Wiki, 2024).
They can be cured back into functioning villagers using a two-step process involving a Splash Potion of Weakness and a Golden Apple. Cured villagers keep their profession, their experience level, and give the player permanent trading discounts.
Why Curing Zombie Villagers Is Worth It
The trading discount alone makes this one of the highest-value activities in survival Minecraft. A cured villager permanently reduces its trade prices, often down to 1 emerald per item regardless of the original cost. Cure enough villagers in a trading hall and you can access enchanted books, mending, silk touch, and other high-tier items for almost nothing.
And here’s the kicker. Each additional cure in the same village stacks reputation bonuses, compounding the discount further. Players who build trading halls almost universally rely on zombie villager curing as the foundation (Minecraft Wiki, 2024).
What You Need to Cure a Zombie Villager
Item 1: Splash Potion of Weakness
A Splash Potion of Weakness is a throwable potion that applies the Weakness status effect to any mob it hits. To craft it, you need a Brewing Stand and the following ingredients:
| Ingredient | How to Get It |
|---|---|
| Water Bottle | Fill a glass bottle at any water source |
| Fermented Spider Eye | Brown mushroom + sugar + spider eye in crafting table |
| Gunpowder | Dropped by creepers |
Brewing steps:
- Fill three glass bottles with water
- Place them in the bottom slots of the Brewing Stand
- Add a Fermented Spider Eye to the top ingredient slot
- This produces three Awkward… wait – Water Bottles with Fermented Spider Eye go directly to Potion of Weakness (no awkward potion step needed)
- Add Gunpowder to the top slot of the existing Potion of Weakness
- This converts it to a Splash Potion of Weakness
No Blaze Powder is consumed in making weakness potions beyond fueling the stand (Minecraft Wiki, 2024).
Item 2: Golden Apple
A Golden Apple is crafted by surrounding an apple with eight gold ingots in a crafting table. Not a Notch Apple (Enchanted Golden Apple) – the regular craftable one works fine and is far cheaper.
| Slot | Item |
|---|---|
| All 8 surrounding slots | Gold Ingot |
| Center slot | Apple |
Apples drop from oak and dark oak leaf blocks when broken or decayed. Gold ingots come from gold ore, smelted in a furnace, or found in chests in mineshafts, temples, and bastions.
How to Turn a Zombie Villager Into a Villager: Step-by-Step
Step 1: Find a Zombie Villager
Zombie villagers spawn in three main ways:
- Random world spawns – 5% of all zombie spawns in most biomes are zombie villagers
- Villager killed by zombie – When a zombie kills a villager, there is a chance it converts rather than dying outright. On Easy difficulty, this chance is 0%. On Normal, it is 50%. On Hard, it is 100% (Minecraft Wiki, 2024)
- Zombie villages – In deserts and snowy tundras, zombie villages spawn with zombie villagers as the default inhabitants. This is the most reliable source
The zombie village method is the easiest for a controlled cure. The villagers are already there, the village is contained, and you can set up the curing station without chasing a mob across a field.
Step 2: Trap the Zombie Villager
Before curing, contain the zombie villager so it does not wander or despawn. Dig a pit two blocks deep, lure the zombie villager in, or build a simple enclosure around it.
This part matters. During the 2–5 minute curing process, the mob is still technically hostile. It will attack you if it gets close. A basic hole keeps it in place without requiring you to babysit it.
Also keep the zombie villager out of direct sunlight. Zombie villagers burn in daylight the same as regular zombies. If you’re curing during the day, move it underground or into a shaded structure first.
Step 3: Hit It With the Splash Potion of Weakness
Stand within throwing range and aim the Splash Potion of Weakness directly at the zombie villager. Right-click (Java) or use the secondary action button (Bedrock) to throw it.
When the potion lands, you’ll see grey swirling particles appear around the mob. That’s the Weakness effect active. You have a window to feed it the golden apple – the weakness effect lasts 1 minute 30 seconds, which is plenty of time.
So. You have grey particles. Move to the next step immediately.
Step 4: Feed It the Golden Apple
With the Golden Apple in your hand, walk up to the zombie villager and right-click it (Java) or use the secondary action button (Bedrock). The golden apple disappears from your hand and the zombie villager’s particles change from grey to red.
Red particles mean the cure is in progress. The mob also makes a distinct conversion sound – a sort of low rumbling – and visibly shakes. That’s working as intended.
Step 5: Wait for the Conversion
The conversion takes between 2 and 5 minutes in real time. During this period:
- The zombie villager remains hostile – keep your distance or stay behind the enclosure
- It cannot be harmed without interrupting the cure (though technically the cure continues even if it takes damage)
- The red particles continue throughout
When conversion completes, the zombie villager transforms into a regular villager with a loud sound cue. If it had a profession before it was zombified, it keeps that profession. If not, it becomes an unemployed villager that can pick up a job site block you place nearby.
How to Speed Up the Curing Process
The curing timer runs faster when the zombie villager is near certain blocks. Placing the zombie villager adjacent to a Bed and a job site block during the conversion reduces the timer significantly – from up to 5 minutes down to under 2 minutes in most cases (Minecraft Wiki, 2024).
This is useful when curing multiple villagers in sequence. Set up a small room with a bed and a lectern (or whatever job site block matches the profession you want), run the cure, and the process moves faster.
What Happens After the Cure
The newly cured villager behaves like any normal villager with one major difference – its trade prices are permanently discounted. The discount applies to all trades and stacks with further reputation gains from curing additional villagers in the same village.
In practical terms:
- Trades that normally cost 20–30 emeralds often drop to 1 emerald after a cure
- The discount applies permanently, not just temporarily
- If you cure the same villager twice (re-zombify and re-cure), the discount stacks again
Re-curing the same villager is a known technique for maximizing discounts, though it requires deliberately letting the villager get zombified again – which carries the risk of it dying rather than converting (Minecraft Wiki, 2024).
How to Deliberately Create a Zombie Villager
If you can’t find a zombie villager in the wild, you can create one. On Hard difficulty, any villager killed by a zombie converts to a zombie villager 100% of the time. On Normal, the chance is 50%.
Steps:
- Set your game to Hard difficulty (or Normal if you’re willing to retry)
- Lure a zombie near a villager after dark
- Let the zombie attack the villager
- If the conversion happens, immediately separate the zombie villager from the zombie before it gets killed
- Proceed with the curing process above
This is a deliberate part of trading hall construction. Players typically find or create zombie villagers for each profession they want – librarian for enchanted books, armorer, weaponsmith, farmer – and cure them all in a controlled setup (Minecraft Wiki, 2024).
Best Professions to Cure
Not all villager professions are equal for trading value. These are the ones worth deliberately targeting:
| Profession | Job Site Block | Best Trade |
|---|---|---|
| Librarian | Lectern | Enchanted books (Mending, Silk Touch, Fortune) |
| Armorer | Blast Furnace | Diamond and enchanted armor |
| Weaponsmith | Grindstone | Diamond sword, enchanted weapons |
| Toolsmith | Smithing Table | Diamond pickaxe, enchanted tools |
| Cleric | Brewing Stand | Bottles o’ Enchanting, Ender Pearls |
| Farmer | Composter | Enchanted golden apples, bread |
Librarians are the most targeted profession. A cured librarian with Mending at level 1 costs 1 emerald per book after full discount, compared to 30–40 emeralds at an uncured librarian. That single trade pays back the cost of the cure many times over (Minecraft Wiki, 2024).
Common Mistakes When Curing a Zombie Villager
Using an Enchanted Golden Apple instead of a regular one: The recipe calls for a standard Golden Apple – 8 gold ingots around an apple. Enchanted Golden Apples (also called Notch Apples) are not craftable in current versions and are not required. A regular Golden Apple works fine and costs far less.
Not applying weakness before the golden apple: Feeding a Golden Apple to a zombie villager without the Weakness effect does nothing. The potion must land first, and the grey particles must be visible before you feed the apple.
Letting the zombie villager burn in sunlight: The curing process does not protect the mob from sun damage. If you start a cure outdoors during the day, the zombie villager can burn and die mid-conversion. Always cure in a shaded or underground space.
Not trapping the villager first: A loose zombie villager during a 2–5 minute cure is a problem. It can wander into sunlight, fall into water, or simply walk out of range. A two-block pit costs nothing and solves all three issues.
Curing on Easy difficulty on purpose: Easy difficulty reduces zombie-to-villager conversion rates and does not affect the curing process itself – but it does mean deliberately-created zombie villagers are harder to produce reliably. For conversion farms, Normal or Hard is better.
Frequently Asked Questions About Curing Zombie Villagers
How do you turn a zombie villager into a villager in Minecraft?
Throw a Splash Potion of Weakness at the zombie villager, then right-click it with a Golden Apple while the weakness effect (grey particles) is active. The villager will shake with red particles for 2–5 minutes before completing the conversion (Minecraft Wiki, 2024).
What items do you need to cure a zombie villager?
You need a Splash Potion of Weakness and a regular Golden Apple. The potion is brewed from a Water Bottle, Fermented Spider Eye, and Gunpowder. The Golden Apple is crafted from one apple surrounded by eight gold ingots in a crafting table.
How long does it take to cure a zombie villager?
The conversion takes between 2 and 5 minutes in real time. Placing the zombie villager near a bed and a job site block during the process reduces the timer. The cure is complete when the red particles disappear and a conversion sound plays.
Does the cured villager keep its profession?
Yes. A zombie villager retains the profession it had before being zombified. If the original villager had no profession, the cured version becomes an unemployed villager that can claim a nearby job site block (Minecraft Wiki, 2024).
Why does curing a zombie villager give trading discounts?
Curing a zombie villager increases your reputation with that villager and with the entire village. This reputation bonus translates directly into lower trade prices, permanently. The discount stacks with each additional villager you cure in the same village (Minecraft Wiki, 2024).
Can zombie villagers spawn naturally?
Yes. Zombie villagers make up approximately 5% of all zombie spawns in most biomes. They also spawn as the sole inhabitants of zombie villages in desert and snowy tundra biomes, which are the most reliable source for large-scale curing projects (Minecraft Wiki, 2024).
Can you cure a zombie villager in Bedrock Edition?
Yes. The curing process is identical in Bedrock Edition – Splash Potion of Weakness followed by a Golden Apple. Conversion time and discount mechanics work the same way across both Java and Bedrock (Minecraft Wiki, 2024).
Key Takeaways
- Curing a zombie villager requires a Splash Potion of Weakness first, then a Golden Apple while weakness is active
- The conversion takes 2–5 minutes and speeds up near a bed and job site block
- Cured villagers give permanent trading discounts that can reduce prices to 1 emerald per trade
- Zombie villagers spawn naturally at 5% of zombie spawns, or in zombie villages in desert and snowy tundra biomes
- Librarians are the highest-value profession to cure for discount enchanted books, especially Mending