[Published: June 2, 2026 | Last updated: June 2, 2026] | 14 min read
TL;DR
- A first gaming PC build takes 90 minutes to 3 hours and needs 7 core components: CPU, GPU, motherboard, RAM, SSD, PSU, and case
- Budget tiers in 2026 run roughly $500-$800 for entry-level 1080p, $800-$1,500 for smooth 1440p, and $2,500+ for high-end 4K (CyberPowerPC, 2026)
- The GPU should get 35-45% of your total budget — it is the single most important component for gaming performance (TechBenchPro, 2026)
- 32GB DDR5 is the 2026 standard; install sticks in slots A2/B2 (not A1/B1) or lose up to 50% memory bandwidth (Switchblade Gaming, 2026)
- Always enable XMP (Intel) or EXPO (AMD) in BIOS after first boot — DDR5 defaults to 4800MHz regardless of rated speed without it
What You Need Before You Start
Building a gaming PC does not require special skills. Modern parts fit together in exactly one correct orientation — you cannot install a CPU backward or plug RAM into the wrong side.
But before you buy a single component, you need two things locked in: a resolution target and a budget. Everything else follows from those two decisions. A 1080p/144fps build looks completely different from a 1440p/165fps build, and picking parts without a target is how you overspend on a CPU and underspend on the GPU that actually drives your frames.
Tools needed for assembly
- Phillips-head screwdriver (size PH2)
- Anti-static wrist strap (optional but useful)
- A clean, non-carpeted work surface
- A USB drive (8GB+) for Windows installation
Use PCPartPicker.com to check compatibility between your chosen CPU, motherboard, and RAM before ordering anything. It flags socket mismatches automatically — free and takes two minutes.
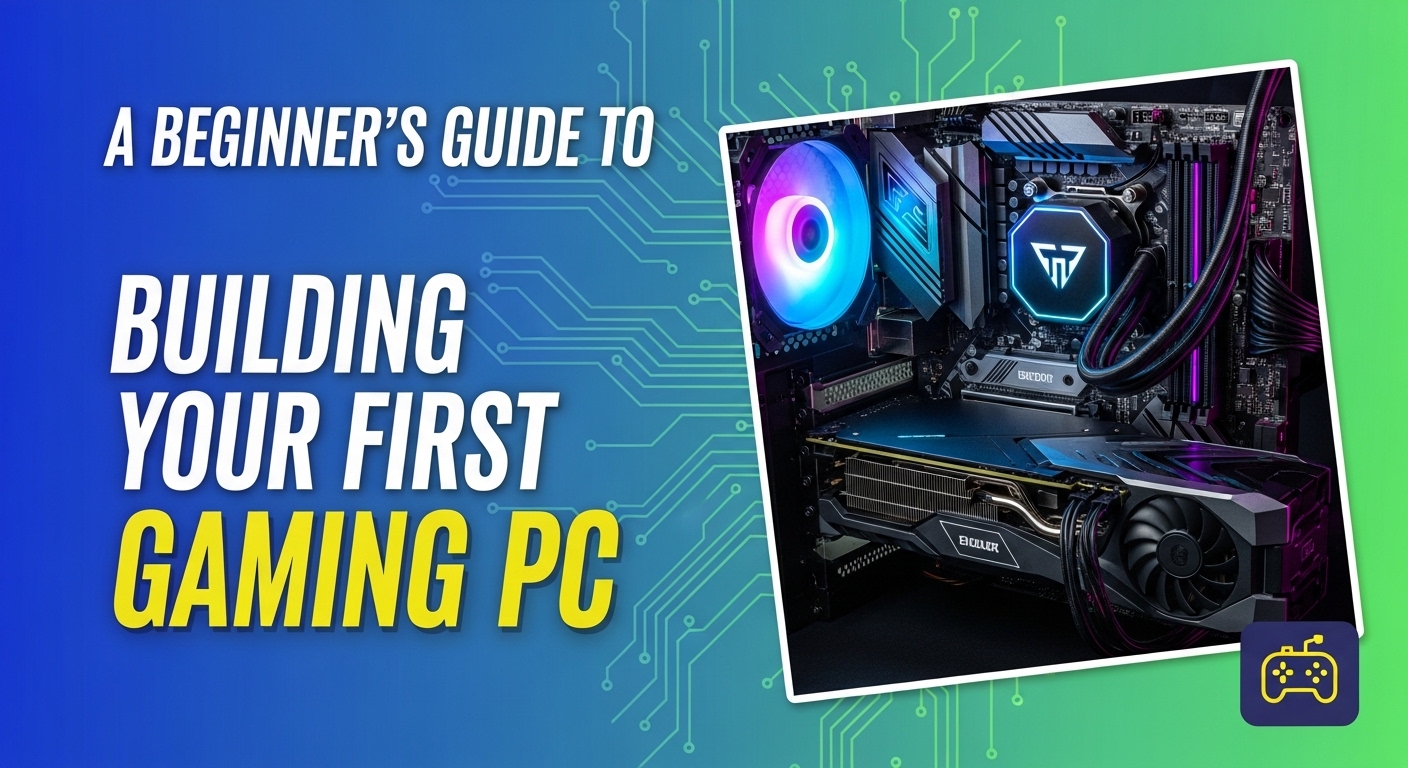
The 7 Components Every Gaming PC Needs
Component 1: CPU — The Processor
The CPU handles game logic, physics, AI calculations, and everything that is not rendering. For gaming in 2026, a 6-core processor is the minimum; 8 cores is the sweet spot where you get full performance without overspending.
Going beyond 8 cores delivers no gaming performance gain. That money belongs in the GPU budget.
Strong picks in 2026: AMD Ryzen 7 9700X (AM5 socket) or Intel Core Ultra 7 265 (LGA1851 socket). Both deliver 8-core performance that won’t bottleneck any GPU short of a 5080 (Gamer Hardware, 2026).
Budget pick: AMD Ryzen 5 9600X — 6 cores, handles 1080p and 1440p without issue at a lower price point.
Component 2: GPU — The Graphics Card
This is where most of your budget goes. The GPU renders every frame you see — resolution, frame rate, visual settings, all of it comes down to this one component.
Allocate 35-45% of your total build budget here. On a $1,000 build, that means $350-$450 toward the GPU (TechBenchPro, 2026).
2026 GPU recommendations by resolution:
| Resolution Target | Best Value GPU | VRAM | Notes |
|---|---|---|---|
| 1080p / 144fps | RX 9060 XT 16GB | 16GB | Best cost-per-frame at this tier (TechSpot, 2026) |
| 1440p / 144fps | RTX 5060 Ti 16GB | 16GB | Full DLSS 4 support; 100+ FPS in most AAA titles |
| 1440p / 165fps | RX 9070 or RTX 5070 | 16GB / 12GB | RX 9070 is 13% faster at 1440p on average (TechSpot, 2026) |
| 4K / 60fps+ | RX 9070 XT | 16GB | Best 4K value; 16GB VRAM handles modern texture budgets (Tom’s Hardware, 2026) |
VRAM note: 16GB is the 2026 minimum to consider when spending $400 or more on a GPU. Cards with 8GB or 12GB are already hitting limits in some modern AAA titles at higher settings.
Component 3: Motherboard
The motherboard connects everything. Match it to your CPU socket — AM5 for AMD Ryzen 9000, LGA1851 for Intel Core Ultra 200K. Those sockets are not interchangeable.
B-series boards (B850 for AMD, B860 for Intel) give you 90% of the features at roughly 60% of the price of X or Z-series flagship boards. You do not need an X870E or Z890 unless you specifically need PCIe 5.0 NVMe storage or extreme overclocking headroom (Gamer Hardware, 2026).
Budget for $150-$250 on your motherboard. That range covers a solid B850/B860 with good VRM delivery and all the ports you need.
Component 4: RAM
32GB DDR5 is the standard for a new gaming build in 2026. It works as a gaming-only config, and stays comfortable if you have a browser and Discord open alongside your game.
16GB still works but some titles — Star Citizen, heavily modded Cyberpunk 2077 — push past it (Switchblade Gaming, 2026).
Speed target: DDR5-6000 CL36 for AMD AM5 builds. This is the AM5 platform’s sweet spot — the Infinity Fabric runs 1:1 at DDR5-6000, maximizing bandwidth without paying for diminishing returns at higher frequencies. For Intel LGA1851, DDR5-6400 is the practical ceiling before you get into expensive enthusiast territory.
Critical installation note: Most motherboards use RAM slots A2/B2 for dual-channel, not A1/B1. Check your motherboard manual. Installing two sticks in adjacent slots cuts memory bandwidth by up to 50% — a 15-30% gaming performance hit in memory-sensitive titles (Switchblade Gaming, 2026).
One warning about 2026 pricing: RAM prices rose roughly 35% compared to late 2025 due to memory shortages driven by AI infrastructure demand. A build that cost $1,200 in mid-2025 runs closer to $1,500 today (Switchblade Gaming, 2026; BGR, 2026).
Component 5: Storage (SSD)
1TB NVMe SSD as a minimum for OS and primary games. Skip SATA drives — NVMe drives cost nearly the same now and load games 2-3x faster (Gamer Hardware, 2026).
If budget allows, 2TB is worth the extra cost. Modern AAA titles regularly hit 80-150GB each. You fill 1TB faster than you expect.
DirectStorage note: NVIDIA and AMD’s fast asset streaming technology only activates over NVMe. If you install supported games on a SATA drive, you lose that benefit entirely.
Component 6: Power Supply (PSU)
Do not cut corners on the PSU. A cheap unit that fails takes the rest of your components with it.
2026 wattage guide by GPU:
| GPU | Recommended PSU | Connector |
|---|---|---|
| RTX 5060 Ti | 650W 80+ Gold | 12V-2×6 |
| RTX 5070 | 750W 80+ Gold | 12V-2×6 |
| RX 9070 XT | 750W 80+ Gold | Standard 8-pin |
| RTX 5080 | 850W–1000W 80+ Gold | 12V-2×6 |
NVIDIA RTX 50-series cards require a 12V-2×6 connector (updated version of 12VHPWR). All modern ATX 3.0 and ATX 3.1 PSUs include it. If you are buying a budget PSU, verify this connector is present before purchasing (ASUS ROG, 2026).
Reputable brands: Corsair RM series, Seasonic Focus GX, be quiet! Pure Power 12 M. Stay away from no-name units regardless of price.
Component 7: Case
The case keeps airflow moving over your components. Three rules: it needs to fit your motherboard form factor (ATX, Micro-ATX, Mini-ITX), it needs mesh front panel intake, and it needs enough clearance for your GPU length and CPU cooler height.
Check GPU clearance in the case specs before ordering — RTX 5080 and 5090 cards can run 340-360mm. Some budget mid-towers max out at 320mm.
Mid-tower ATX is the right choice for a first build. More room to work, easier cable management, better airflow options.
Step-by-Step Assembly Guide
Work on a table or desk — not the floor, not a carpeted surface. Static can kill components. Touch a metal surface (like your case) before handling parts.
Step 1: Install CPU onto the Motherboard
Do this outside the case. It is much easier.
- Place the motherboard on top of its box (anti-static cardboard)
- Open the CPU socket lever and lift the bracket
- For AMD: align the triangle on the CPU corner with the triangle on the socket, drop it in — zero force needed
- For Intel: align the notches on the CPU with the socket guides, lower it gently, press the lever down
- Apply a pea-sized dot of thermal paste to the center of the CPU die (skip this if your cooler has pre-applied paste)
Do not touch the pins (AMD) or the gold contacts (Intel). Handle the CPU by its edges only.
Step 2: Install the CPU Cooler
Stock coolers (included with boxed CPUs) work fine for all non-overclocked builds. Attach it according to the cooler’s manual — mounting brackets differ between AMD and Intel.
If using an AIO liquid cooler, mount the radiator to the top or front of the case before installing the motherboard. Most first builds go with a quality air cooler like the Noctua NH-U12S or be quiet! Dark Rock 4.
Step 3: Install RAM
Refer to your motherboard manual. Use slots A2 and B2 — usually the second and fourth from the CPU socket. Snap the side clips open, line up the notch in the RAM stick with the notch in the slot, and push down firmly until both clips click.
It takes more force than you expect. That’s normal.
Step 4: Install NVMe SSD
Locate the M.2 slot on the motherboard — usually just below the CPU socket or covered by a heatsink plate. Lift the heatsink, insert the SSD at a 30-degree angle, press it flat, and secure it with the tiny screw.
If your motherboard has multiple M.2 slots, use the top one (closest to the CPU) for your primary drive — it runs off the CPU’s direct PCIe lanes and is faster.
Step 5: Install Motherboard into the Case
- First, install the I/O shield that came with your motherboard — it snaps into the rear panel opening
- Check the case has brass standoffs in the correct positions for your motherboard’s screw holes
- Lower the motherboard in, aligning the rear ports through the I/O shield
- Screw it down — do not overtighten
Step 6: Install the Power Supply
Slide the PSU into the bottom rear of the case (fan facing down, toward a bottom vent if present). Secure with four screws from the back panel.
Route cables through the case before connecting them — it makes cable management much easier.
Step 7: Connect Power Cables
- 24-pin motherboard connector — large flat connector, right side of the motherboard
- CPU 8-pin (or 4+4) connector — top-left of the motherboard, near the CPU socket
- GPU power connector — the 12V-2×6 or 8-pin cable(s) into the side of the GPU
Step 8: Install the GPU
- Remove the rear PCIe slot covers in the case that align with your GPU’s output ports
- Slide the GPU into the top PCIe x16 slot (the long one closest to the CPU) until the tab clicks
- Screw the GPU bracket to the case
Do not push it in at an angle. It goes straight in with firm, even pressure.
Step 9: Connect Case Cables
Connect front-panel headers (power button, reset, USB, audio) to the motherboard. These are labeled on the motherboard — check the manual for the exact pin layout. Power button connectors have no polarity. USB and audio headers only fit one way.
First Boot: BIOS Setup and Windows Installation
Do a test boot before closing the case. Press the power button and look for the motherboard’s splash screen or BIOS.
If nothing happens: check the 24-pin and 8-pin CPU cables first. Those are the two most common causes of no-POST.
BIOS Configuration (Critical Settings)
Once you see the BIOS screen, configure these before installing Windows:
- Enable XMP (Intel) or EXPO (AMD) — your DDR5 kit defaults to 4800MHz regardless of its rated speed. Enable this to run it at DDR5-6000 or whatever speed you paid for (Technerdo, 2026)
- Set boot priority — point to your Windows USB drive first
- Enable Resizable BAR (ReBAR) — allows the CPU full access to GPU VRAM, improving performance in many titles. Also called SAM on AMD platforms
- Check that your CPU, RAM (at correct speed), and SSD all appear — if something is missing, reseat it
Install Windows 11
Create a Windows 11 installation USB using the Media Creation Tool from Microsoft’s website. Boot from it, follow the installer, select your NVMe SSD as the installation drive.
After Windows is installed:
- Download GPU drivers directly from NVIDIA or AMD — do not rely on Windows Update for this
- Download chipset drivers from AMD or Intel’s website
- Enable XMP/EXPO again if the BIOS reset during installation (it sometimes does)
Budget Breakdown: What to Expect at Each Tier in 2026
| Build Tier | Budget | Target Performance | GPU Example |
|---|---|---|---|
| Entry-level | $500-$800 | 1080p / 60-100 fps | RX 9060 XT 16GB |
| Mid-range | $800-$1,500 | 1440p / 100-165 fps | RTX 5060 Ti 16GB or RX 9070 |
| High-end | $1,500-$2,500 | 1440p/4K / 144fps+ | RTX 5070 or RX 9070 XT |
| Enthusiast | $2,500+ | 4K / 165fps+ | RTX 5080 / RTX 5090 |
A custom $800 build with an RTX 5060 Ti and Ryzen 5 delivers performance equivalent to prebuilt systems priced at $950-$1,100 from major OEMs. The $150-$300 prebuilt premium pays for assembly labor, profit margin, and typically a lower-quality PSU and case (Gaming PC Guru, 2026).
Common First-Build Mistakes to Avoid
- Wrong RAM slots. Using A1/B1 instead of A2/B2 cuts memory bandwidth by up to 50% — a measurable gaming performance loss that shows up in benchmarks.
- Skipping XMP/EXPO. DDR5-6000 kits run at 4800MHz out of the box until you enable the profile. Many first-time builders never enable it and wonder why performance is below expectations.
- Overspending on a CPU to “future-proof.” The Ryzen 9 9900X does not play games faster than the Ryzen 7 9700X. That money belongs in the GPU.
- Cheap PSU. A no-name 650W unit rated at $35 is not a real 650W PSU. Buy from reputable brands with real certifications — a PSU failure can destroy your GPU and motherboard.
- Not checking GPU length. A 340mm GPU in a case that fits 320mm is a real problem. Check specs before ordering.
- Forgetting thermal paste. If your cooler does not include pre-applied paste, you need to apply it before mounting. Running without it causes immediate thermal throttling.
Prebuilt vs. Build Your Own in 2026
The math changed in 2026. AI data center demand pushed DDR5 prices up roughly 35% from late 2025, making the cost advantage of DIY smaller than it was a year ago (BGR, 2026). A build that cleared $1,000 in mid-2025 runs closer to $1,250-$1,500 today.
That said, building still wins on component quality. OEM prebuilts at a given price point use cheap PSUs and basic cases to hit their price targets. Your own build gives you full control over every part, proper warranties on each component, and the ability to upgrade individual pieces later.
For first-time buyers who want immediate availability and no assembly: buy prebuilt. For anyone willing to spend a few hours and save $150-$300 while learning skills that pay off in every future upgrade: build your own.
Frequently Asked Questions About Building a Gaming PC
How long does it take to build a gaming PC for the first time?
Expect 90 minutes to 3 hours for a first build. Assembly itself takes 60-90 minutes. BIOS setup and Windows installation add another 30-60 minutes. Having all parts laid out before you start saves significant time (Gaming PC Guru, 2026).
What is the minimum budget for a gaming PC in 2026?
Entry-level 1080p gaming starts at $500-$800. That budget gets you a capable GPU, a 6-core CPU, 16-32GB DDR5, and 1TB NVMe storage. Below $500, you are better off buying used parts or a secondhand prebuilt (CyberPowerPC, 2026).
Do I need DDR5 for a gaming PC in 2026?
Yes, for any new build. Both the AMD AM5 platform (Ryzen 9000 series) and Intel LGA1851 (Core Ultra 200K) require DDR5. DDR4 is only relevant on older platforms like AMD AM4 or Intel LGA1700 — both of which are end-of-lifecycle for new builds (Perfgames, 2026).
Which is better for gaming in 2026 — AMD or NVIDIA GPU?
Both are competitive. AMD’s RX 9070 is 13% faster than the RTX 5070 at 1440p on average and carries 16GB VRAM, giving it better headroom for modern games. NVIDIA’s RTX 5060 Ti and 5070 win on DLSS 4 quality, ray tracing, and DLSS Multi Frame Generation, which requires HAGS enabled (TechSpot, 2026). If you use Linux or prioritize open-source drivers, AMD is the clear choice.
What PSU wattage do I need for a mid-range gaming PC?
A 650W 80+ Gold PSU covers most mid-range builds with an RTX 5060 Ti. The RTX 5070 and RX 9070 XT both need 750W for comfortable headroom. Budget 850W-1000W for high-end builds with RTX 5080-class GPUs (ASUS ROG, 2026).
Can I build a gaming PC without prior experience?
Yes. Modern components are designed to only connect in one correct way. A Phillips-head screwdriver, a PCPartPicker compatibility check, and a methodical approach are all you actually need. Do a test boot before closing the case — catching issues with the side panel open saves significant troubleshooting time.
Is building a gaming PC still cheaper than buying prebuilt in 2026?
Marginally, and less so than previous years. AI-driven memory price increases shrunk the traditional DIY cost advantage. A DIY build still delivers better component quality at equivalent prices — you control PSU and case quality that OEMs cut corners on — but pure dollar savings are smaller in 2026 than they were in 2024-2025 (BGR, 2026).
Key Takeaways
- Match your CPU socket to your motherboard before anything else — AM5 for AMD Ryzen 9000, LGA1851 for Intel Core Ultra 200K — this is the most common compatibility mistake in first builds
- Spend 35-45% of your total budget on the GPU; underspending here limits every game you will ever play on that machine
- Install RAM in A2/B2 slots, enable XMP/EXPO in BIOS, and set Resizable BAR on — three BIOS steps that unlock significant performance often left unconfigured
- 32GB DDR5 is the right target; 16GB works but increasingly tight in modern titles
- Do not cheap out on the PSU — it is the one component whose failure damages everything else