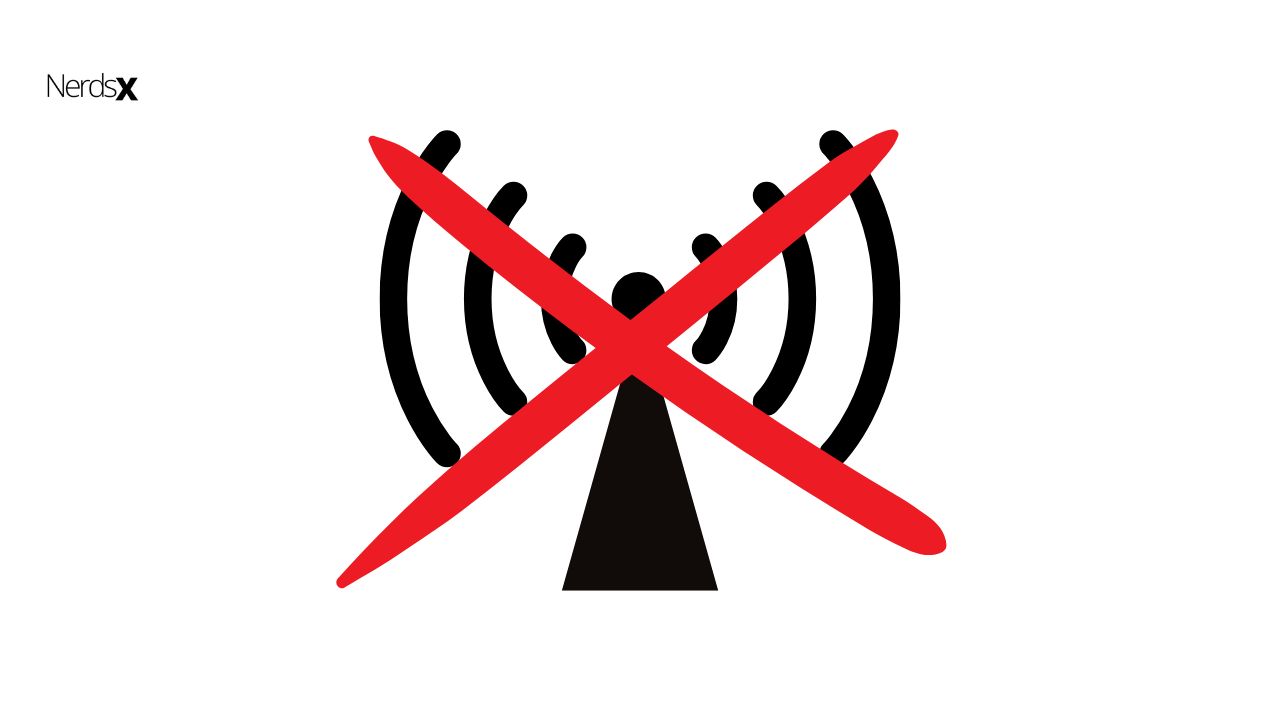
Wi-Fi issues can be pretty problematic, especially if the Internet via Ethernet is working great, but the Wi-Fi is not. Wi-Fi is the preferred connection for many users, primarily since it can be used with current portable devices such as laptops and phones.
It’s not difficult to connect to and configure Wi-Fi. Nonetheless, even with a near-perfect system, faults arise from time to time, causing Wi-Fi to stop working. The most known is a problem with a Wi-Fi router not connecting.
Although there are numerous faults and difficulties here and there, such as the significant example when the Internet of Wi-Fi does not work yet, Ethernet works well. The most important task is to correctly assess the defective network section, and this article will explain how to resolve the problem.
Wi-Fi Isn’t Working, But Ethernet Is? Here’s How To Remedy The Situation.
The fact that your LAN (Ethernet) connection is perfectly functional yet your Wi-Fi is not working indicates there is an issue with your PC or router’s settings. As a result, we’ve compiled a list of probable remedies to assist you in permanently resolving this problem. If you can connect with a LAN cable but not with Wi-Fi, ensure to follow these instructions:
Step 1: Check Your Router
For starters, the router is the source of Wi-Fi problems. The most apparent solution is to connect to the network using another device, such as a smartphone or a PC. Continue to the next step if you can connect and your Internet access is fully working.
If none of the accessible devices can connect, follow the procedures below:
1. Restart your computer or laptop.
2. Restart your router and modem. Please turn it off for a few moments and then turn it back on.
3. Examine the hardware Wi-Fi switch. Ensure that Wi-Fi is turned on in your router’s dedicated Wi-Fi switch.
4. Also, look for Wi-Fi switches on your laptop. That applies to�?the function button as well (FN).
5. The router and modem must be hard reset. You may do this by pressing the little physical button on the base or going into your router’s settings.
6. Connect your router to your PC/computer via an Ethernet LAN connection, and then paste the supplied IP address into your browser’s search box. In Settings, paste your credentials and look for the Factory Reset option.
7. Update the router’s firmware.
Step 2: Use The Windows Troubleshooter.
It would help if you used the Windows troubleshooter to resolve the problem. Too often, the value of this diagnostic tool is overlooked. Even if it doesn’t help you solve the problem, it will offer you a better knowledge of what’s causing it.
So, don’t be afraid to use the Windows troubleshooter for any network-related issues, including the one we’re dealing with today. The following are the steps to run it on Windows 10:
1. To launch Settings, press and hold the Windows + I buttons simultaneously.
2. Open the Update & Security section.
3. On the list available on the left side, click the Troubleshoot button.
4. ‘Run the troubleshooter after selecting Internet Connection Troubleshooter.
5. Wait for the troubleshooting to finish and, hopefully, your Wi-Fi connection issue will be resolved.
Step 3: Make A DNS Flush
The Domain Name System, or DNS, is a critical naming system on the internet. Its primary function is to translate between IP address and hostname, substituting an IP address for the well-known “www.website.com” and vice versa.
The DNS, on the other hand, accumulates the cache, and as we all know, a lot of [cache means a lot of difficulties.
Flushing DNS and clearing the related cache isn’t easy right now. You’ll need to use the command line and a few commands to accomplish this. Fortunately, we’ve laid out the steps below, so make sure you follow them:
1. First, use the search bar to find/look for the command prompt.
2. Enter the following commands at the command prompt, pressing Enter after each one:
3. release / ipconfig
4. refresh / ipconfig
5. After the operation is finished, type “flushdns/ipconfig” and click Enter:
6. Close the Command Prompt and try to connect to Wi-Fi once more.
Step 4: Resetting Winsock And IP Stacks
You should enable Winshock and Internet Protocols (TCP / IP) while you’re at the core Internet Protocols and Windows Embedded Applications. Like certain other built-in Windows apps, Winsock is an essential aspect of the system communication between your computer and the internet. It is not possible to reinstall it. You can discard it. The same is applicable with IP stacks (both IPv4 and its successor IPv6). Unavoidable network delays should, without a doubt, allow this.
There are now two methods for resetting these parts: using the command line and using a dedicated program. Nonetheless, we will guide you step-by-step through the process because it isn’t stated whether the utility supports Windows 10. Follow these procedures to reset the Winsock and IP stacks:
1. First, look for the command prompt as administrator in the search box.
2. Enter the ‘netsh Winsock directory reset’ command at the command prompt and click Enter.
3. Copy and paste reset.log netsh int ipv4 reset instruction to reset the IPv4 and IPv6 stacks, pressing enter after each.
4. Restart your computer after closing an elevated command prompt.
Continue with the instructions in these other steps if the problem still exists.
Step 5: Changing The Frequency Band
The great majority of existing routers use dual-band technology. That means you’ll be able to choose between 2.4GHz and 5GHz. The former is becoming increasingly slow and primarily utilizes non-computer devices, although it has a much broader reach and supports older equipment.
The 5GHz spectrum, on the other hand, is significantly less saturated and speedier; but, many legacy PCs will be unable to access it, and signal flow is easily impeded by complex barriers such as walls.
So make sure to flip between them and watch for differences.
You can, on the other hand, select a different Wi-Fi channel. Channels 1, 6, and 11 are the finest to use. Here’s how to choose one from the advanced adapter options:
1. By typing network and internet into the search bar, you can access the control panel.
2. Select Network and the Sharing Center from the drop-down menu
3. In the left side menu, select “Change adapter settings.”
4. Open Properties by right-clicking on your Wi-Fi adaptor.
5. Click the Configure button.
6. In the menu, go to the Advanced section.
7. Search for the term “WZC IBSS Numbers Channel” in the scrolling list.
8. Select channels 1, 6, or 11 and confirm the modifications from the drop menu on the right.
Step 6: Reinstall The Drivers�?
Another blameworthy component that gets frequently overlooked is drivers. While Windows Update’s generic drivers should operate without trouble in most cases, this isn’t always the case. They will occasionally fail to meet the standards, and the wireless adapter will suffer as a result.
In terms of drivers, you have three possibilities. Try uninstalling them and let the system update them for you. Another option is to visit the OEM’s support website and download the appropriate driver.�?
The third option is to use TweakBit Driver Updater and prioritize all drivers on your computer.
If you’re a more experienced user, here are the steps you should take to diagnose and fix your network driver issues:
1. Right-click on the start to open the Device Manager.
2. Increase the number of Network Adapters.
3. Update Wireless Adapter by right-clicking on it and restarting your computer.
4. If that isn’t enough, right-click your Wireless Network Adapter and select Properties from the context menu.
5. Toggle to the Details tab.
6. From the drop-down menu, choose Hardware Ids.
7. Paste the first line into your browser.
8. Locate and download the driver from the official OEM support website.
9. Restart your computer after installing the driver.
Step 7: Turning Off IPv4 Or IPv6
Finally, you might try disabling one of the web protocols and proceeding from there. IPv6 (Internet Protocol Version 6) is a new set of standard protocols for the internet’s network layer. IPv6’s design is to resolve several issues with the current version of the Internet Protocol suite (known as IPv4), including address depletion, security, auto-configuration, extensibility, and so on.�?
IPv6 enhances the internet’s capabilities by enabling new applications, such as peer-to-peer and mobile applications. These protocols usually work well together; however, a lack of synergy might cause problems.�?
You can disable either the former or the latter, but not both. Remember that IPv4 should make most older Wi-Fi cards easier to use.
The following are the methods to disable IPv4 or IPv6 on Windows 10:
1. Right-click the Wireless Network symbol in the taskbar’s notification area, then choose Open Network and Internet Settings.
2. Change the adapter settings by clicking the Change adapter settings button.
3. Open Properties by right-clicking on your Wi-Fi adaptor.
4. Disable IPv6, check for changes, and seek ways to improve.
5. In the case that the problem persists, re-enable IPv6 while disabling IPv4.
Conclusion
We’ve become so accustomed to Wi-Fi being readily available for playing video games, streaming our favorite TV shows, and allowing us to work from home that we hardly think twice about being connected until there’s an issue.
A lost connection can disturb your daily routine, but most Wi-Fi difficulties are simple to resolve. Try the steps listed above if your Wi-Fi isn’t working, but your Ethernet is.