While a keyboard and mouse are the most pleasing way to game on a PC, many console gamers prefer to utilize controllers. Fortunately, computers make it simple to connect your favorite controllers.
The Nintendo Switch Pro Controller, with its ergonomic button layout and long-lasting battery life, is one of the most popular controller options. Here’s how to connect a Nintendo Switch Pro Controller to a PC step by step.
Pro Controllers For The Nintendo Switch
Nintendo also makes these controllers for the Nintendo Switch platform. They provide an alternative to the Joy-Con controllers that come standard with the system.�?
The Switch Pro controllers have a similar design to classic controllers, making them popular.
The Switch Pro Controller is a good choice if you prefer a more conventional or precise gaming experience. Check out the instructions below to discover how to connect it to your computer.
How To Connect The Switch Pro Controller With Your Bluetooth Device
This approach is simple whether your computer has built-in Bluetooth connectivity or you’re utilizing a Bluetooth dongle. Because this technique is a little more complex than connecting through USB, we recommend using it only when you want to use the Pro Controller with games from other platforms, such as EA Origin, Ubisoft’s UPlay store, or Battle.Net.
The Pro Controller will be connected to a desktop PC or another device through Bluetooth, just like the Joy-Con controllers.�?
This connection requires a Bluetooth adaptor or onboard Bluetooth, but it is also simple.
1. When the Pro Controller is fully charged, press and hold the Sync button on the gamepad’s top for a few seconds until the indicator lights begin to flash.
2. Right-click the Bluetooth icon in the system tray.
3. Select “Add Bluetooth Device” in the drop-down menu.
4. Select “Add Bluetooth or another device” from the drop-down menu.
5. Select “Bluetooth” from the drop-down menu (because Windows 10 needs assurance that you want to use Bluetooth).
6. If the Pro Controller does not appear in the list of available devices, check to see if the indicator lights are still flashing back and forth. Pair the controller by clicking it.
The Pro Controller should be more versatile than the Joy-Cons in terms of game compatibility, owing to its more conventional layout; however, it isn’t compatible with everything. The incompatibility is due to the controller APIs in use; the Pro Controller appears to use DirectInput instead of the newer XInput, rendering it incompatible with many recent games.
How To Use Steam To Connect The Switch Pro Controller
The Switch Pro Controller is now officially supported in the Steam client, after only being available in the beta version. That allows you to use it with your PC games and even remap the buttons.
Step 1: Launch Steam and go to the Controller Settings menu. You may verify if the Switch Pro Controller is supported and set the Use Nintendo Button Layout option, altering the button prompts in all of your games to match the Pro Controller. If you don’t tick this, you will switch the A/B and X/Y buttons, just as the Xbox One.
Step 2: Connect your Switch Pro Controller to your computer via USB, and you’ll be prompted to register it and calibrate the built-in gyro sensor for movement control in some games.
Step 3: After that, go to Controller Setup and specify the functions of each button and stick on the controller, create preset settings for specific games, or choose a community member’s configuration by clicking the X button. You can also connect the gyro sensor to a particular function if you want, which may make you almost as precise as mouse-and-keyboard gamers in some games.
The Pro Controller should function similarly to an Xbox controller in any Steam game when connected to Steam. On the same setup page as previously, click the controller under “Detected Controllers” to turn the vibration on and off. If the analog sticks appear off, click Adjust to calibrate them manually.�?
You may also choose the length of time the controller remains connected before disconnecting and going to sleep.
When you use Big Picture, Steam’s controller support, as well as over-the-game remapping and setup choices, display as they should. This is unlikely to happen if you launch a game from the desktop.
Enter the Pro Controller’s controller settings when the game is in Big Picture mode to bring up Steam’s Switch Pro Controller overlay. It allows you to examine and correct controller mappings in various circumstances.�?
You may explicitly map each Pro Controller input to any keyboard or gamepad input, but most games’ default settings should be enough. Running in No Man’s Sky by clicking the right stick was problematic without manual modifications thus, this is useful if any controls feel slightly odd with the default settings.
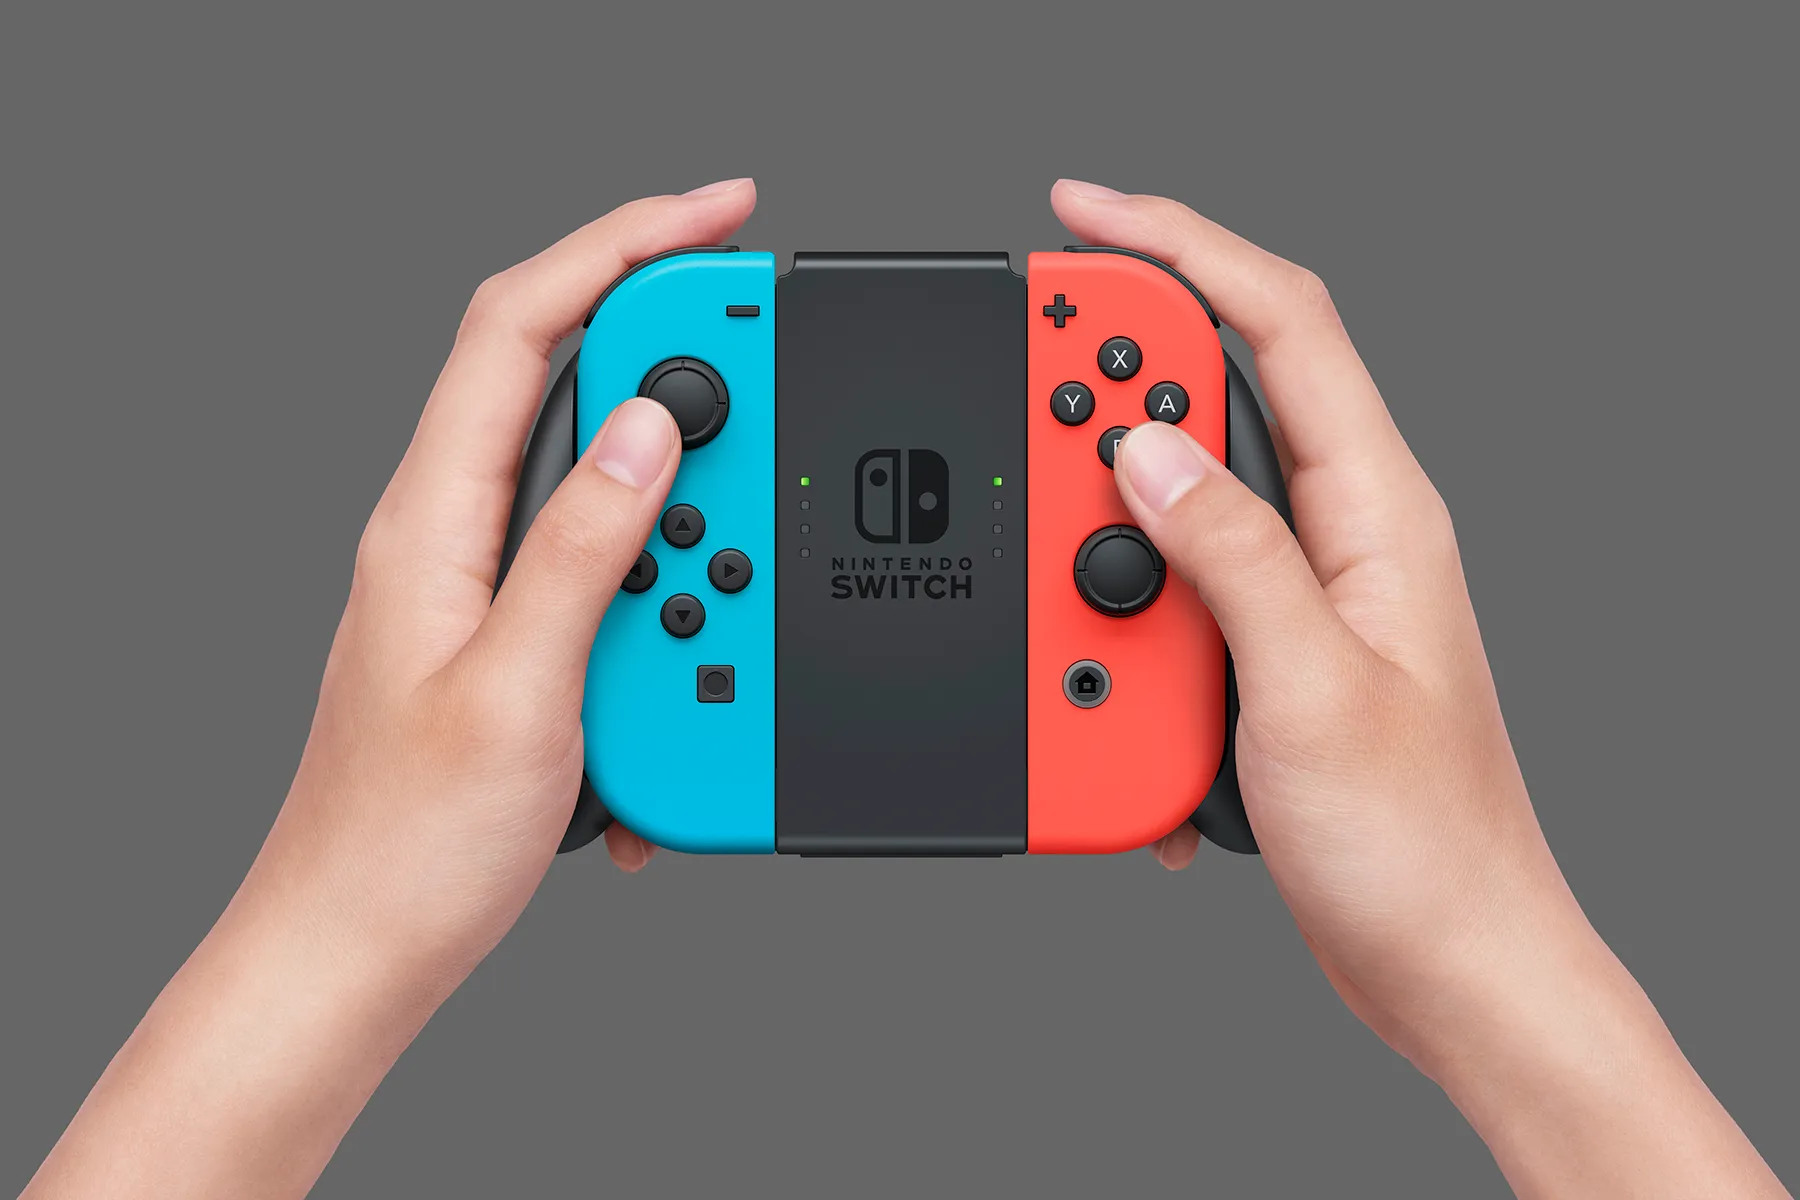
Joy-Con Controllers
Nintendo Switch’s primary controllers are Joy-Cons. The design is the most intriguing aspect: they have two independent components. That means you may use the controller as a single-player controller or remove it and use it as two separate controllers. You can connect up to seven or eight Joy-Cons to the Nintendo switch simultaneously. Joy-Cons come in various colors and may be purchased individually or with the Switch console.
How To Connect Your PC To Your Joy-Con Controllers
You can effortlessly link Joy-Con controllers with a Windows or Mac computer from the Bluetooth menu. To do so, follow the instructions below:
Step 1: On your PC, turn on Bluetooth.
Step 2: Disconnect the Joy-Con controllers from the switch.
Step 3: Press and hold the Sync button on the Joy-Cons, situated between the SR and SL buttons, until the LED lights on the Joy-Cons begin to flash.
Step 4: In your computer’s Bluetooth menu, locate the Joy-Con and pick the option to link it with your device.
A few oddities are involved, such as the Joy-Cons’ pairing lights not stopping flashing.
Regrettably, by default, the two Joy-Cons will be considered independent controllers. That is wonderful for two-player games, but it renders them useless for anything more complicated, such as a first-person shooter.
To sync a pair of Joy-Cons as a single controller, there’s a complicated workaround that includes many external apps and a lot of fiddling. We believe the method we’ve explained is the most effective.
How To Connect Joy-Cons Into A Single Unit
Several tools and apps can assist you in connecting Joy-Cons as a single unit. Unfortunately, this approach only works with Windows, so you won’t use it if you have a Mac.
1. Connect your computer to your Joy-Con controllers.
2. BetterJoy is available for download from https://github.com/.
3. You should extract the files to a location of your choice.
4. Run ViGEmBUS Setup as administrator after opening the subfolders.
5. Install the required drivers.
6. Go to the main folder after installing the drivers.
7. It would help if you ran ‘BetterJoyForCemu’ as the administrator.
Your controllers will now be recognized as a single unit by the application.
Pro Controller VS. Joy-Con
Both of them are excellent choices for gaming on the Nintendo Switch. However, depending on your requirements, you may find that one of these is more appropriate. Let’s discuss the upside and downside of these controllers.
Advantages Of Using Pro Controller
1. It has a traditional design – Gamers used to Xbox or PlayStation controllers will appreciate the pro controller because it appears like the Xbox controllers.
2. Battery life – The Switch Pro controller’s battery life is excellent. The switch pro has a remarkable battery that lasts up to 40 hours and charges through USB.
3. Comfortable — The ergonomic shape makes it incredibly comfortable to hold.
4. The comfort will prevent cramping in your hands, and while Joy-Cons are ideal for youngsters and those with tiny hands, the Switch Pro will fit adult hands better.
5. Better Control — The Switch Pro fits securely in your hands, enabling you to have more control over your game.
So, if you enjoy intense single-player games, this could be an excellent choice for you.

Disadvantages Of Using Pro Controller For Nintendo Switch
1. Although the Switch pro controller is fantastic because of its ergonomic form, you cannot directly connect it to the Switch console. If you often play video games outside of your home, this might be an issue.
2. Customizability — The Switch Pro is only black and has a few limited-edition colors. That might be a deal-breaker if you care about the colors and customizability of your controller.
3. Although the Switch Pro is excellent, the most notable difference is that the Joy-Cons are part of the package. You’ll have to buy the Switch Pro controller separately if you want to utilize it. And, because their prices are comparable, you’d receive two Joy-Cons for the price of one Switch Pro. That’s why individuals opt to buy a second pair of Joy-Cons or refrain from purchasing anything at all.
Advantages Of Using Joy-Cons
1. Design — the design of Joy-Cons is their finest attribute. You’ll receive two controllers that you can use as a single unit. So, whether you like multiplayer games or hosting game nights with your pals, Joy-Cons is the way to go.
2. They are pretty popular among children- Joy-Cons are ideal for children due to their tiny size. They are incredibly light when removed, making them simple to grip. They also come in various colors, which appeals to children in particular.
3. Handheld experience– Joy-Cons provide an excellent portable experience.
4. Easy to transport — Because Joy-Cons are so compact, they’re ideal for traveling with a console. They also don’t take up a lot of room because of their size and weight.
Disadvantages Of Using Joy-Cons
1. Battery life — while the Switch Pro controller has a 40-hour battery life, the Joy-Cons only have 20-hour battery life. However, if you charge the Joy-Cons between gaming sessions, you should not experience battery issues.
2. Size – While its tiny size is ideal for children, it is a significant drawback for serious players. They may create cramping in your hands due to their size.
Conclusion
You’ve now learned how to connect your Switch controller to your PC in various ways. If you want to use the Switch controllers to play games on your PC, read our tutorial first, and you’ll be ready to go in just a few simple steps.